I’ve been getting a lot of request for my personal DIY’s. This edition is dedicated to those old denim jeans thats balled up in the back of your closet that you’r hoping one day will come back in style or you will find some use for them. One of the many things you can do to an old pair of jeans is distress them. Yes, You! Yes, Yourself! Its Fast and very simple and of course inexpensive. My Best Friend showed me this years ago when I thought I destroyed a pair a jeans by spilling bleach on them.

Finding a good pair of distressed denim to you’re liking(just enough holes, right color, perfect fit)is hard to find at a reasonable price. It seems the more distressed they are the more pricey it becomes. So why the heck would you pay $300 for some jeans with holes when you can do them yourself. So put your wallets away! Im more than sure you have a pair of outdated denim, or just damaged jeans thats worth saving and I’m here to help you bring them back to life.
This simple technique helped me bring my favorite pair of denim and STILL one of my favorite pair of jeans till this day! So take them out the back of the closet and lets get started!!!!!!!!
Materials:
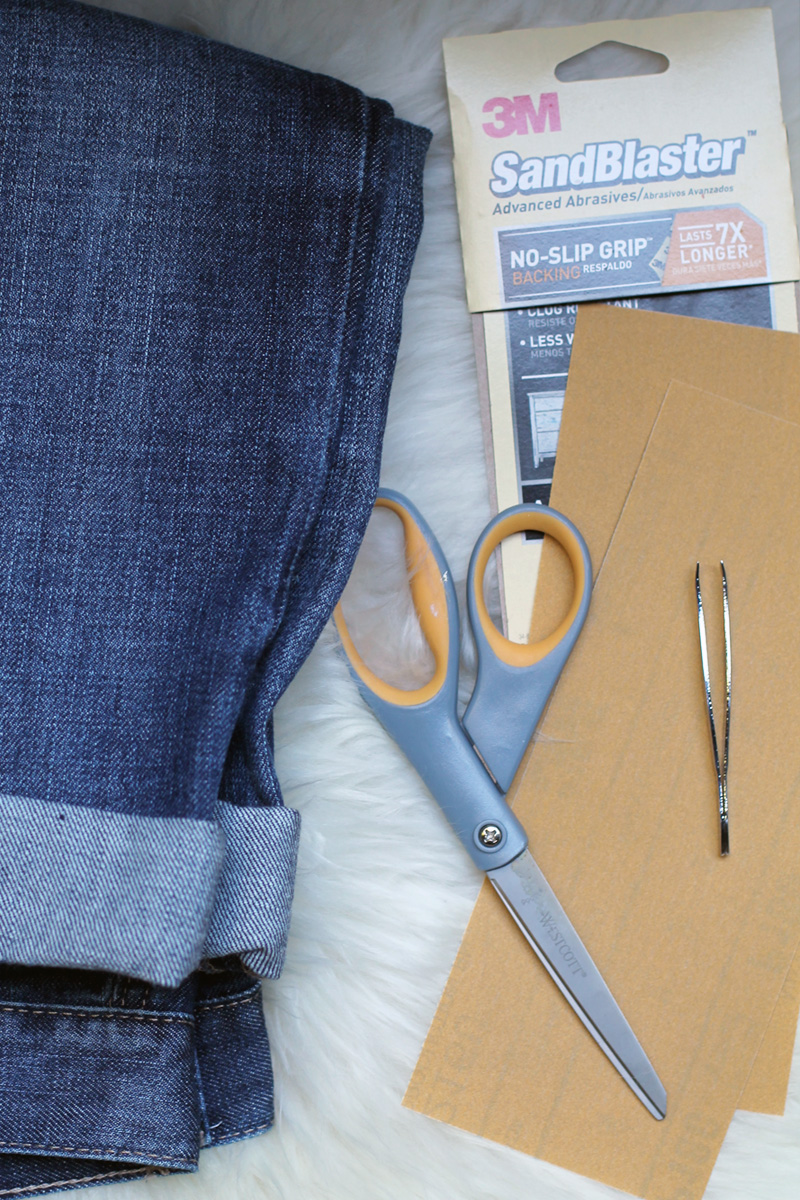
1. Denim of your choice
2. A sharp pair of scissors
3. Sandpaper(optional:after making the holes you can wash your denim for the same results for instinct results you can purchase sandpaper from your local hardware store)
4. Tweezers
5. Pencil/Chalk
Step 1: Try on the denim to see where exactly you want to distress, Than you will use the chalk or pencil to mark the area.
Step 2: Sandpaper over the areas you marked for the extra worn look. (Skip this step if you prefer to have the distressing to a minimum or will use the washing machine after the completed steps)
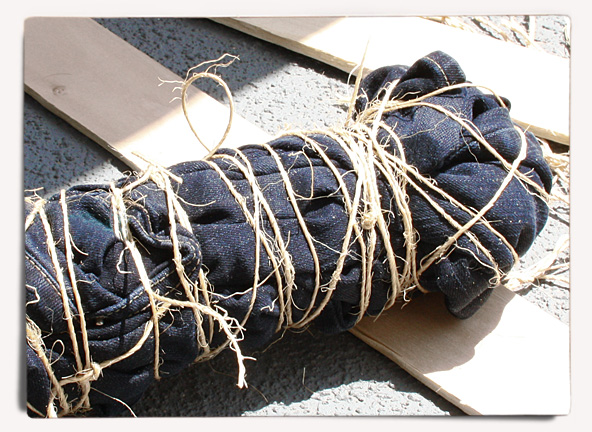
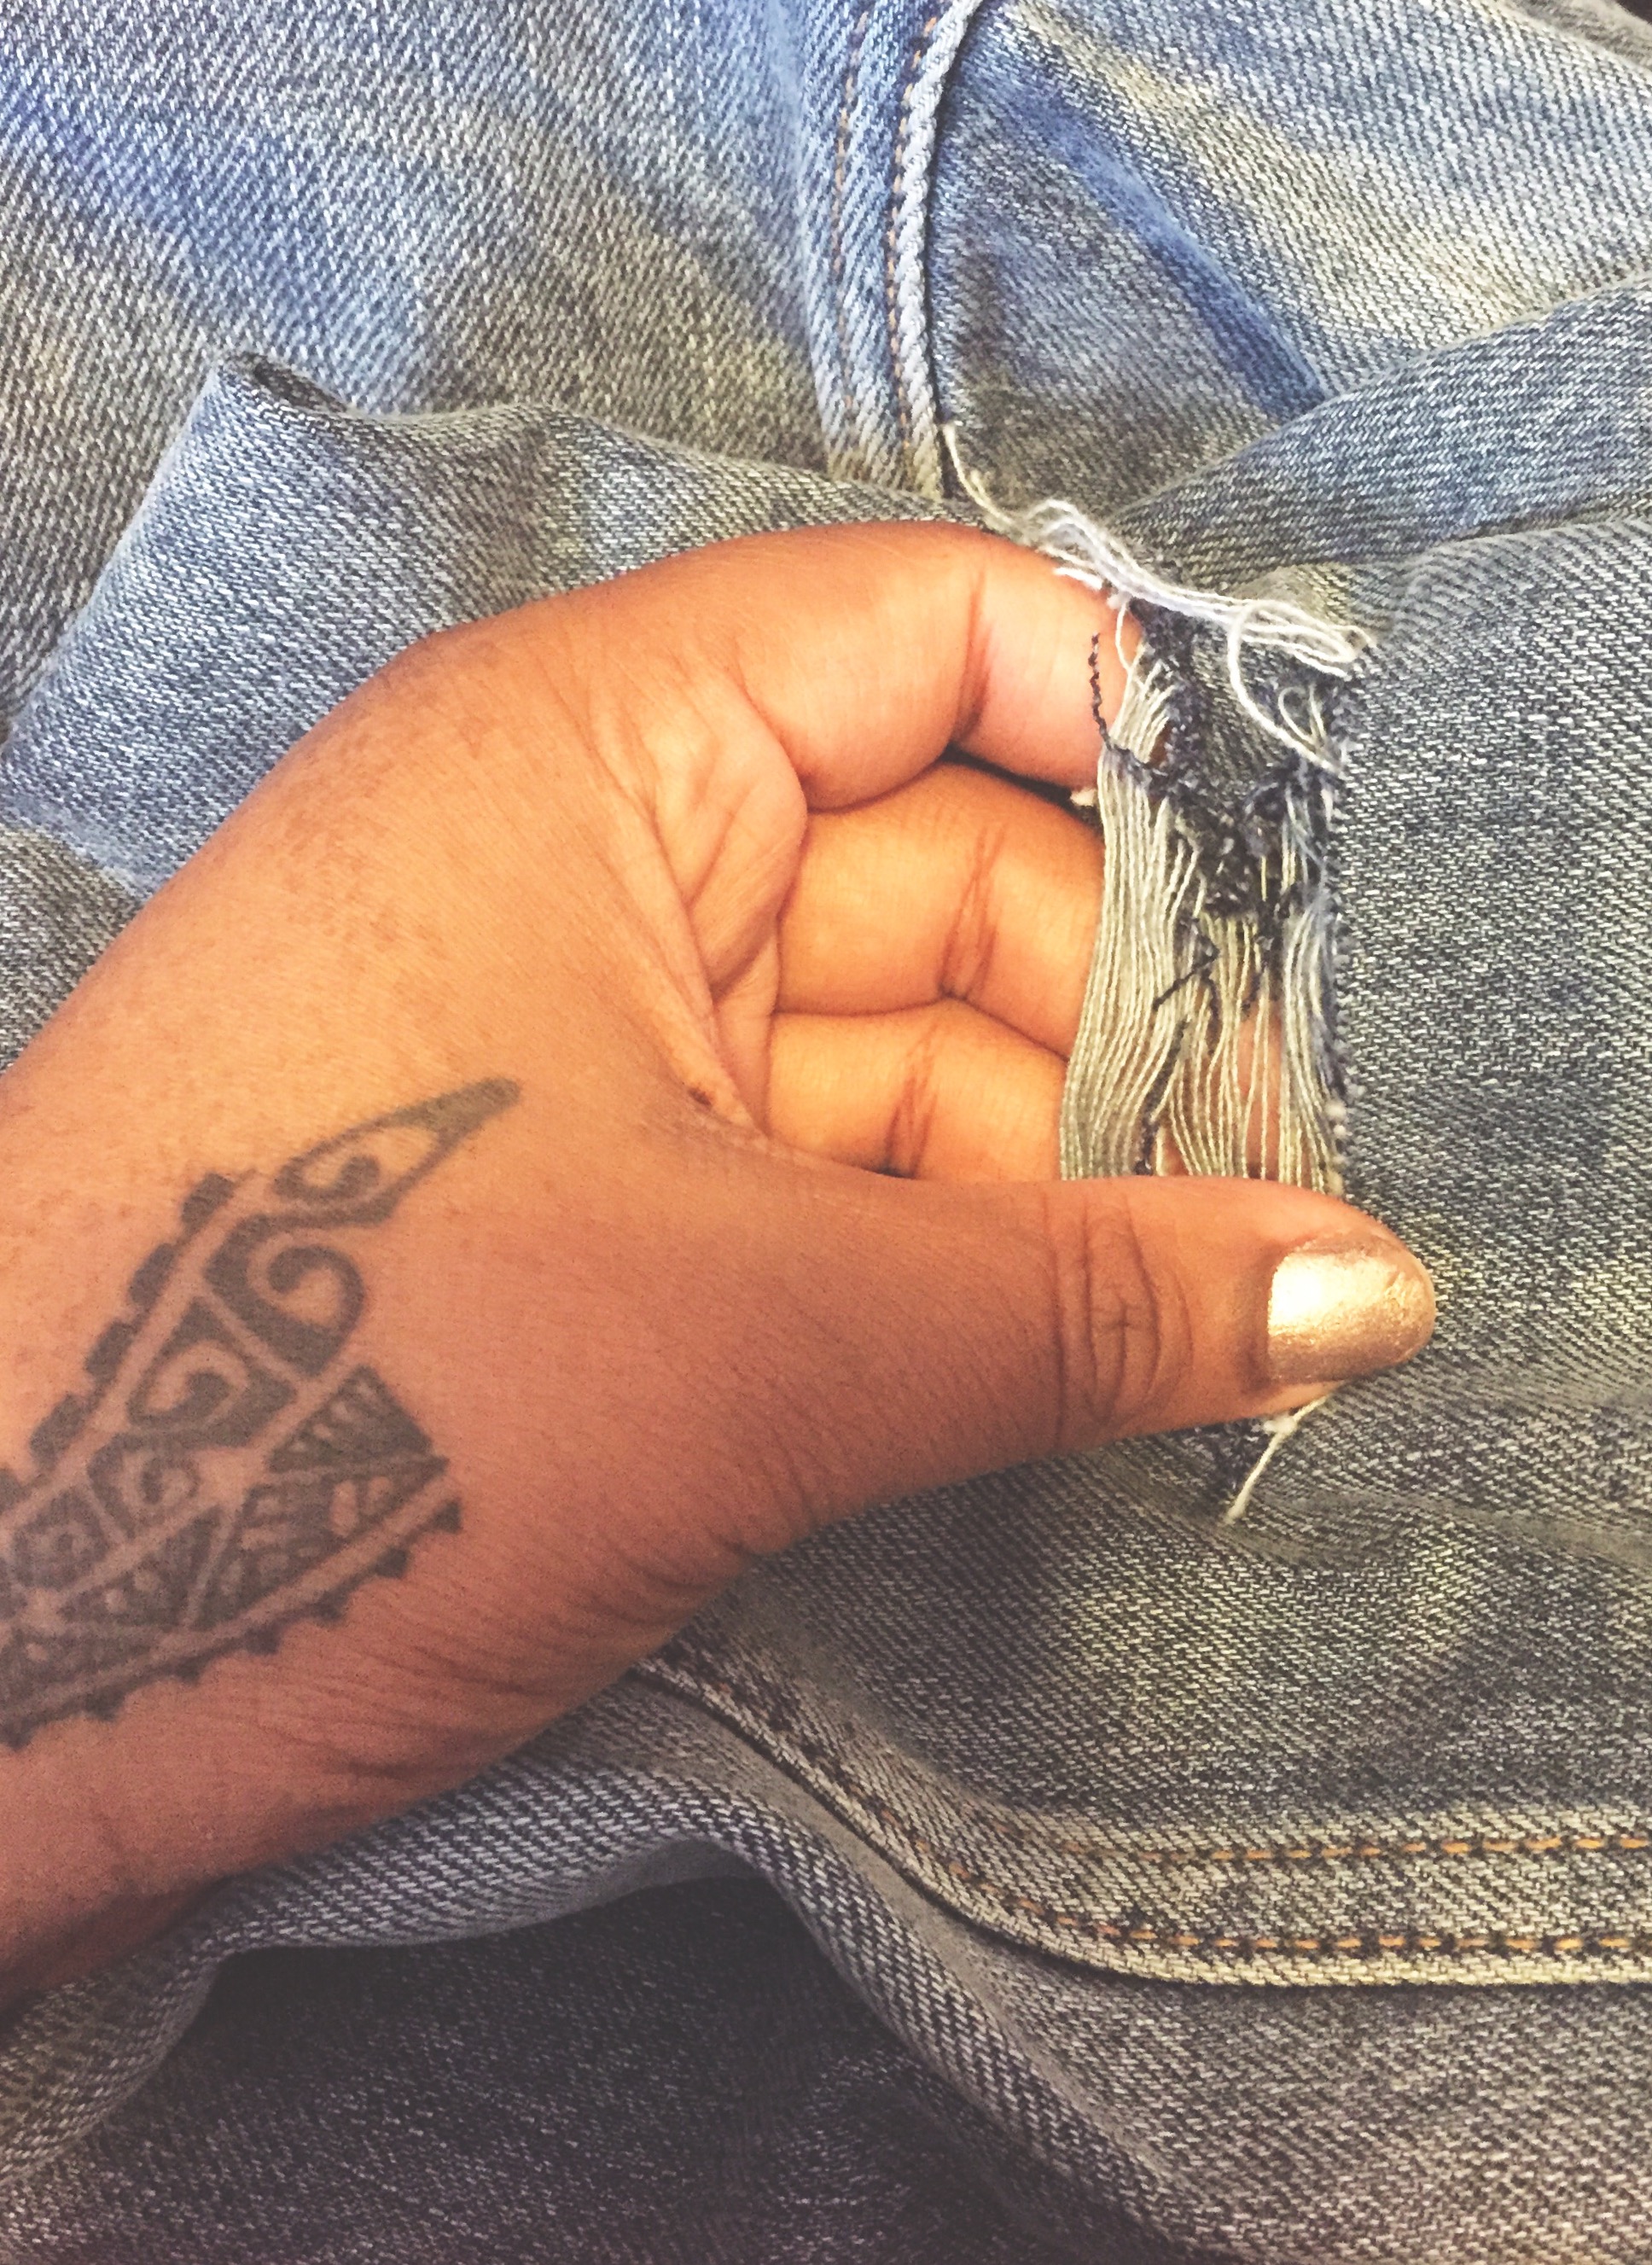
Step 3: Turn your denim inside out and cut straight slits over the area you want to distress. The slits should be anywhere between 1/2 inches to 3/4 inches from each other because you have to pull out the threads with the tweezers in the next step.
Step 4: Use the tweezers to pull the threads (see picture below) but only in the areas you cut. Its fine if you can’t get all of them or if its fuzzy in certain areas the more you wear your denim and washing you do to them the more it will even out.

Step 5: Repeat steps 1-4 for other areas of the garment for example back pockets and the front by the zipper.
Step6: Last but not least wash and dry your denim! And Your Done!!!!!

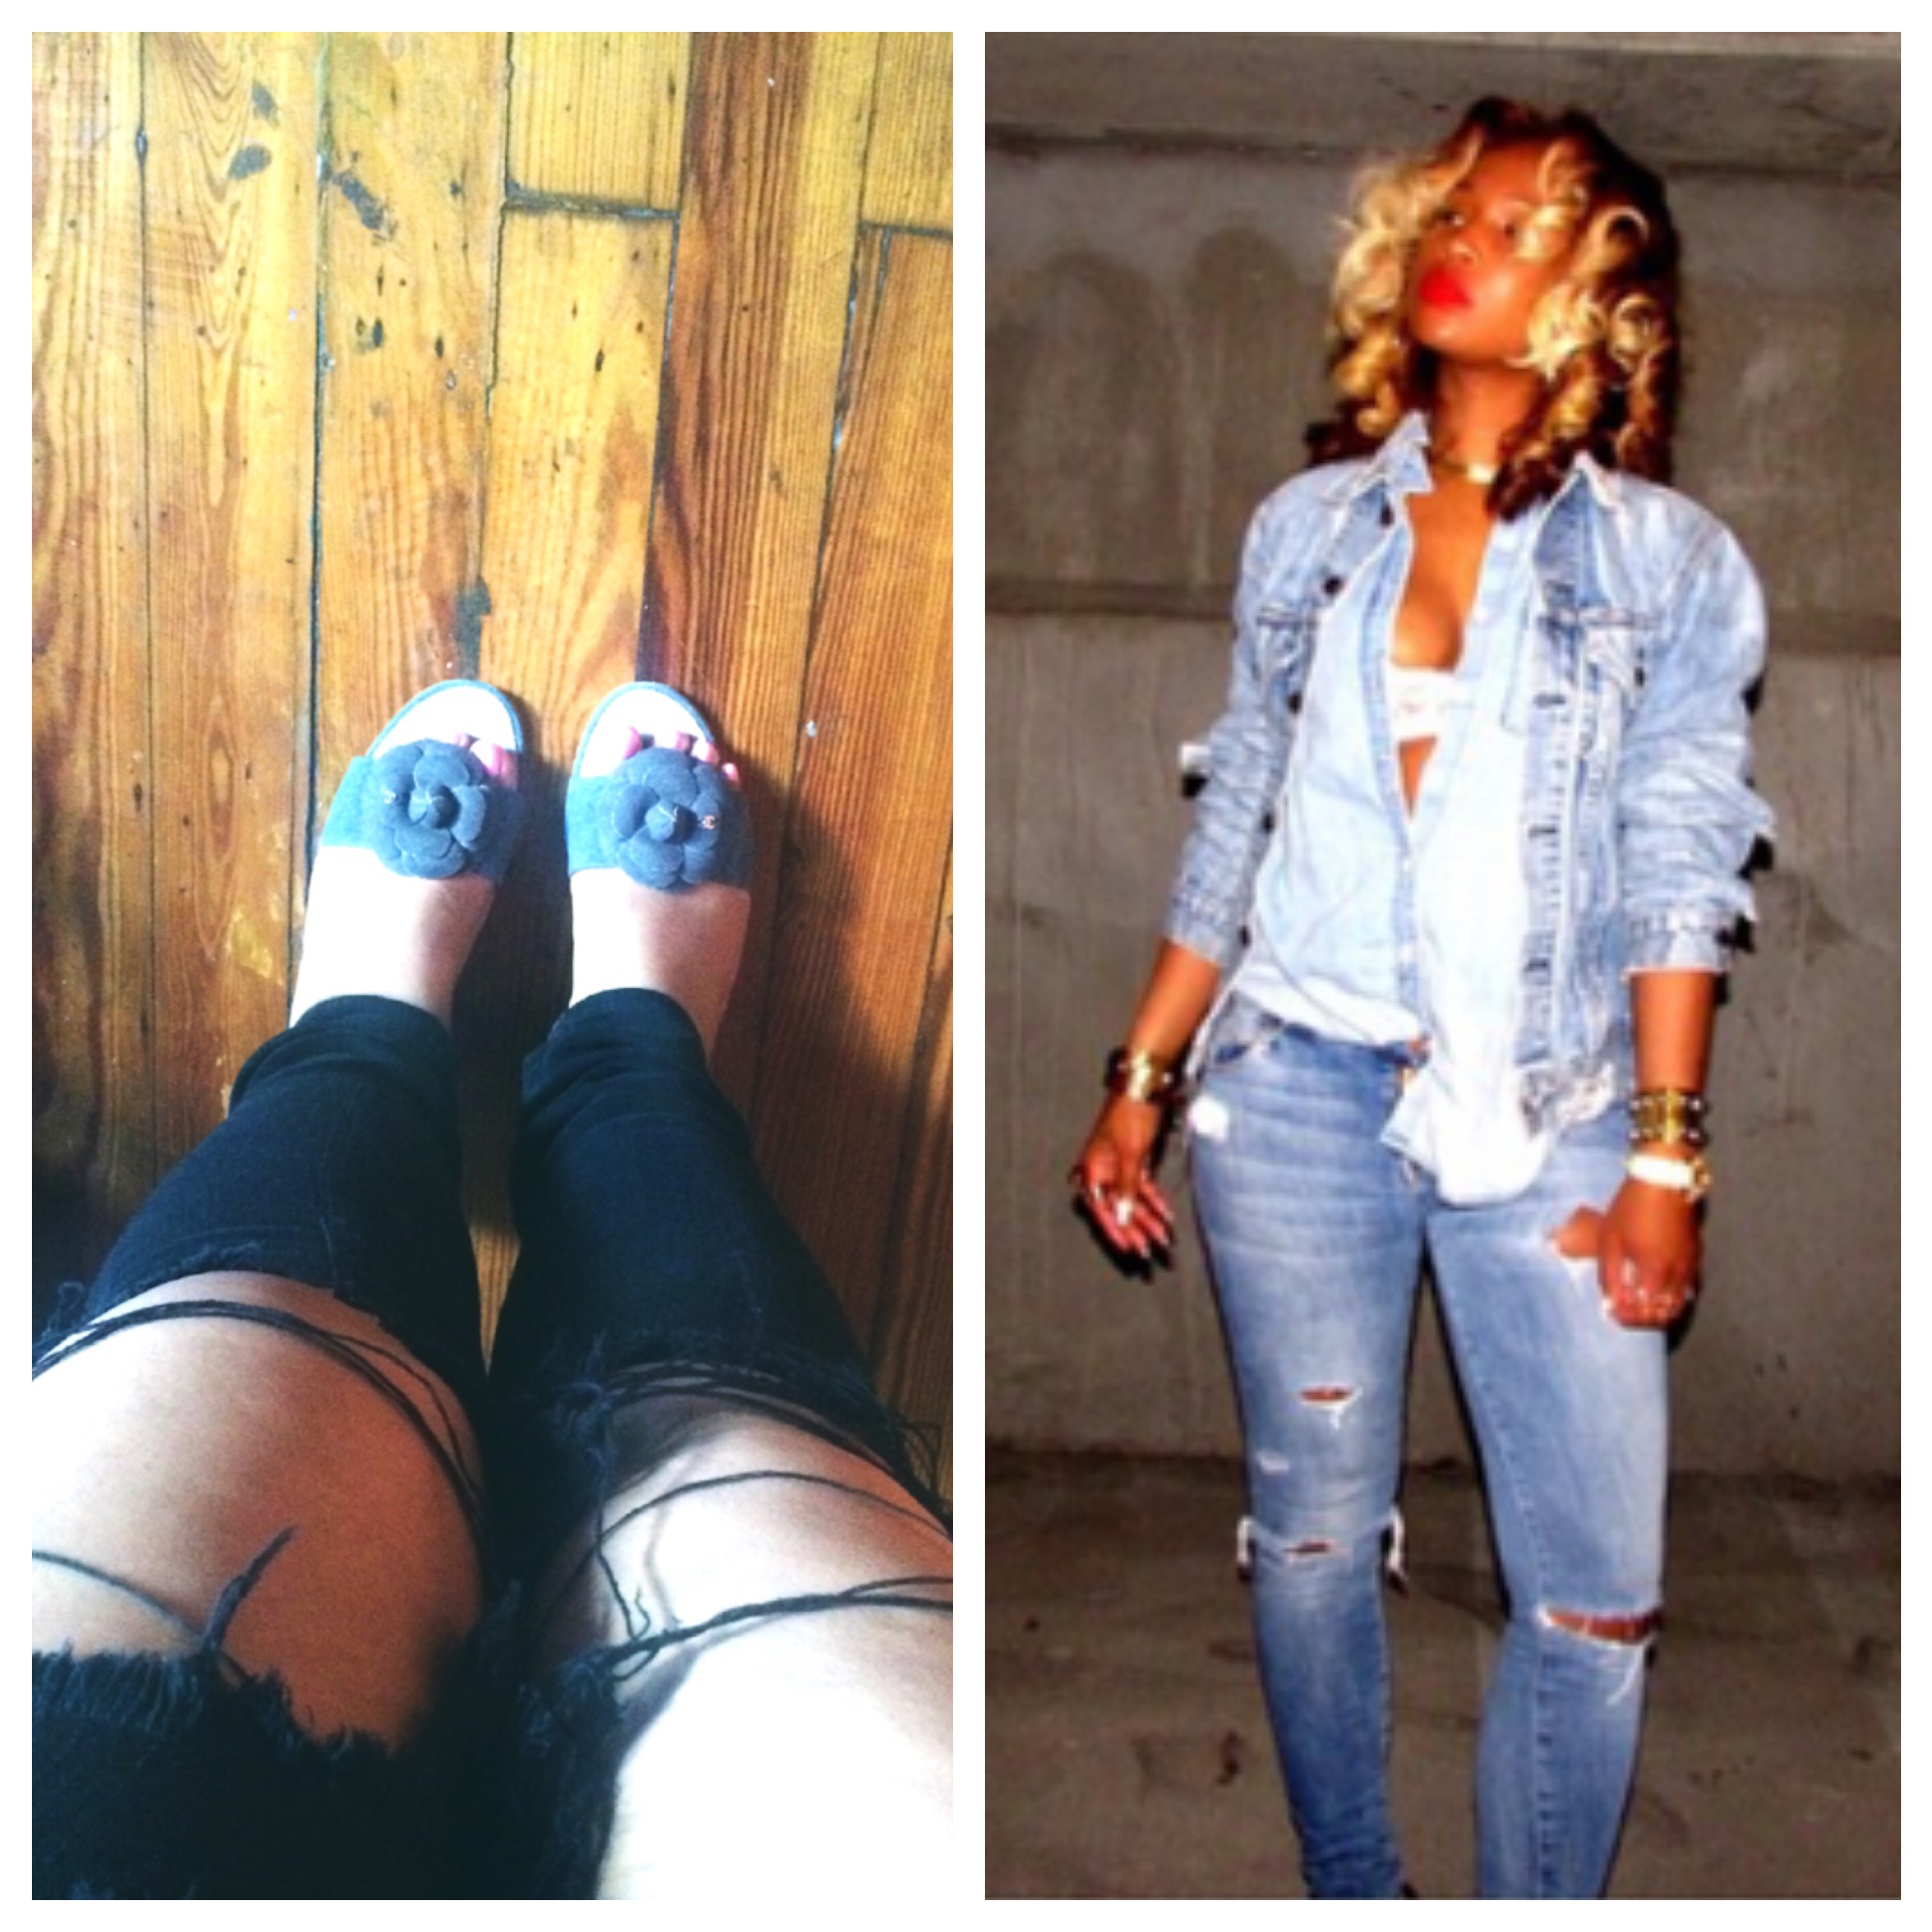
Enjoy !!!!!
Be sure to tag @january___jones on instagram in a picture of you wearing your DIY denim to be featured in the feedback section(page must be public)
justabrooklyngyrl